Anim8or Community

Please login or register.

Login with username, password and session length
Advanced search  

News:

Ian Ross has just released a book on Anim8or. It's perect for a beginner and a good reference for experienced users. It contains detailed chapters on every aspect, with many examples. Get your own copy here: "Anim8or Tutorial Book"

Author Topic: Wire objects in Anim8or - A tutorial  (Read 7425 times)

Sinani201

  • Newbie
  • *
  • Posts: 14
  • PI=3.1415926535...
    • View Profile
Wire objects in Anim8or - A tutorial
« on: February 08, 2008, 07:12:08 pm »

Hi
I made up a way to make I nice way to make wire objects in anim8or, or cool looking transparent objects with an outline.
There aren't really any requirements for this tutorial. However, you should be able to perform basic tasks, like extruding and creating materials.

Step 1: Get the object
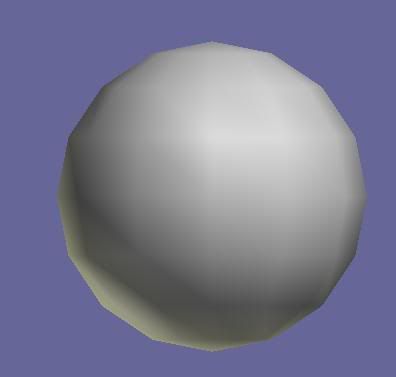
Of course, you need an object before doing this! In this tutorial, I use a simple sphere:
Step 2: Make the object a mesh
The object has to be a mesh. Select your object and go to Build>Convert to mesh.
Step 3: Select the faces
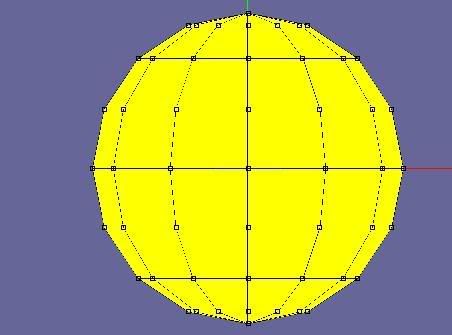
Go to Point Edit Mode, then Face Select mode (click on the small triangle), and use the Drag-Select Tool. Make a box around your object, and all the faces should turn yellow, like this:
Step 4: Get the outline
Make a new material, and the color of it will be the color of the outline. Just use black, it's the simplest and that is the one I will be using in this tutorial. Apply  it to the selected yellow faces.
Step 5: Extrude
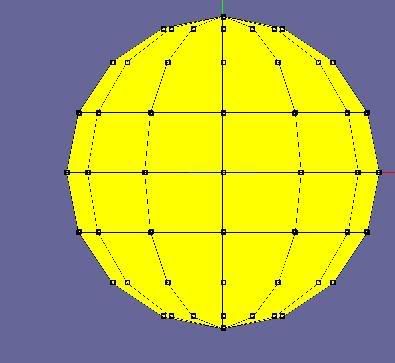
Use the Extrude Face Connected tool and very breifly extrude the face in, so that the edges become bold, like this:
Step 6: The inside
If you want a simple wire object, then just make a material with 0 transparency.
If you want a cool-looking object with the translucent inside, then choose your color (or texture if you want!) and set the transparency to 0.3. Apply the material to your newly selected faces (do not deselect the faces!!)
Step 7:Finish!
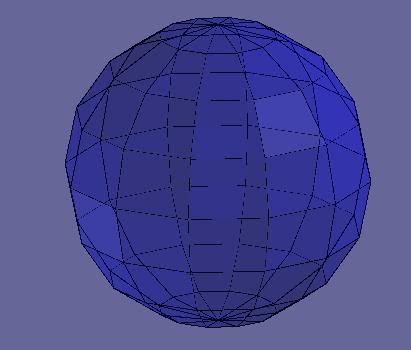
You're done! If it didn't work,try Step 5 again. Your result should look something like this:
Or...
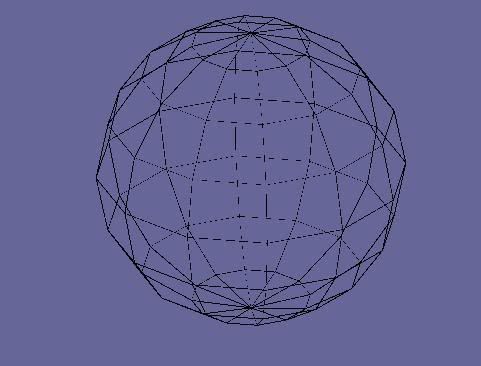
Step 8 (optional) Turn your object into a disco-ball
If you made a translucent fill, convert your object to subdivided. It should look like this:
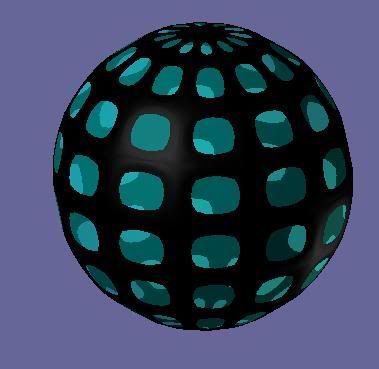
« Last Edit: February 11, 2008, 07:35:46 pm by Sinani201 »
Logged
The most exiting signature you've never seen...
 _____   _   __   _       ___   __   _   _   _____   _____   ___ 
/  ___/ | | |  \ | |     /   | |  \ | | | | /___  \ /  _  \ |_  |
| |___  | | |   \| |    / /| | |   \| | | |  ___| | | | | |   | |
\___  \ | | | |\   |   / / | | | |\   | | | / 

hihosilver

  • Global Moderator
  • Hero Member
  • *****
  • Posts: 1294
    • View Profile
Re: Wire objects in Anim8or - A tutorial
« Reply #1 on: February 10, 2008, 02:07:26 pm »

That's a nice little tutorial.  for the outline, I would advise using the 'inset faces' tool instead of 'extrude' though.  Other than that it looks pretty good.
Logged

Kubajzz

  • Flying Platypus
  • Global Moderator
  • Sr. Member
  • *****
  • Posts: 548
  • Little doggie ate my avatar...
    • View Profile
Re: Wire objects in Anim8or - A tutorial
« Reply #2 on: February 10, 2008, 03:12:25 pm »

Cool tutorial Sinami201! I've got one more hint:

You can get really crazy images if you try to render the object with shadows. The problem is that the wire object will behave like a solid mesh because material with "0" transparency casts the same shadows as non-transparent material. So... my advice is to delete the faces instead of applying transparent material.

I spent several minutes playing with lights and environment settings and this is the result (I used spring primitive plugin and 2 lights):
Logged